How to install vinyl plank flooring? Vinyl flooring is a type of flooring that has multiple synthetic layers by using the materials like fiberglass, plastic, PVC, etc. it typically comes as planks, sheets, or tiles that are assembled together for giving a perfect flooring to any surface.
Its topmost layer is protective and keeps it safe from harsh weather that can damage the floor. As far as the vinyl plank flooring installation is concerned, it is easy to install by yourself by doing a little effort and you will not need to hire a professional for this task.
Many people find it difficult to install the vinyl planks by themselves and make minor mistake that results in the biggest damages. To help you we brought a guide on how to install vinyl plank flooring.
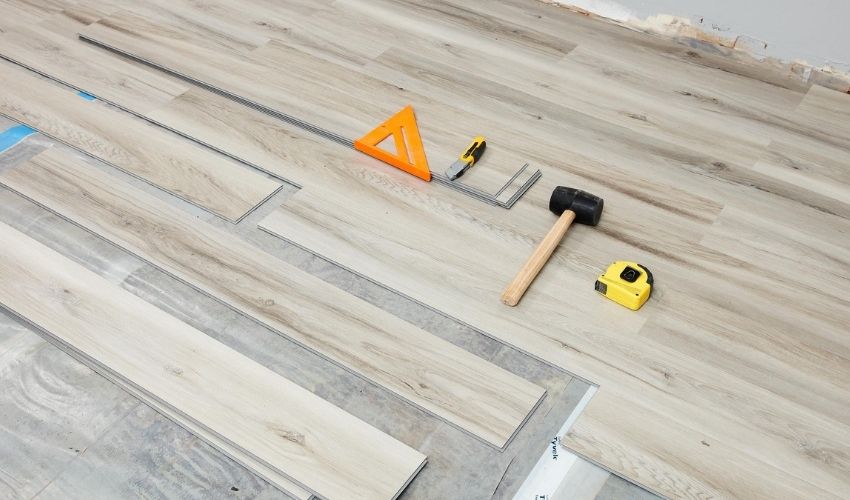
Tools & Material Required For Installing Vinyl Flooring
Get the following tools and materials for installing the vinyl planks successfully.
| Tools | Materials |
|---|---|
| Measuring tape. | Sandpaper (if needed). |
| Utility knife. | Vinyl plank flooring. |
| Flat pry bar. | Concrete patcher. |
| Fine-tooth saw. | ¼ inch spacers. |
| Drawbar tool. | Floor leveling compound. |
| Hammer. | |
| Carpenter’s square. | |
| Pliers. | |
| Nail Set. | |
| Straightedge. |
Complete Tutorial On How to Install Vinyl Plank Flooring
You can install the vinyl planks easily by following a few instructions and keeping some major points in your mind. The minor mistakes made by the people while installing vinyl planks can cause a great disaster.
We will help you learn about how to install vinyl plank flooring? By telling you with a step-by-step Flooring Installation Guide by following these instructions:
1. Measure The space where You Have To Apply Planks

Take the exact measurements of the area where you have to lay out vinyl plank flooring. Measure edge-to-edge dimensions for doing luxury vinyl installation like a professional.
2. Make A Plan For Giving The Layout To Floor

At this step, decide in which direction you will have to install the vinyl planks that give your room an amazing look. The general rule is to lay down the planks on the longest side of the room.
You can also install them as per your requirements, like if you want to install them in a parallel direction for an adjacent room.
3. Detach The Baseboard

For installing the vinyl flooring easily you have to remove the trims that make any type of connection with the floor. These trims can be base shoe moldings, baseboards, and case moldings.
Use the pry bar for removing the baseboard from the floor by gently praying back from the top of the molding. Set aside these trims for reusing them again or you can also purchase new baseboards for your floor.
4. Door Jambs Undercuts
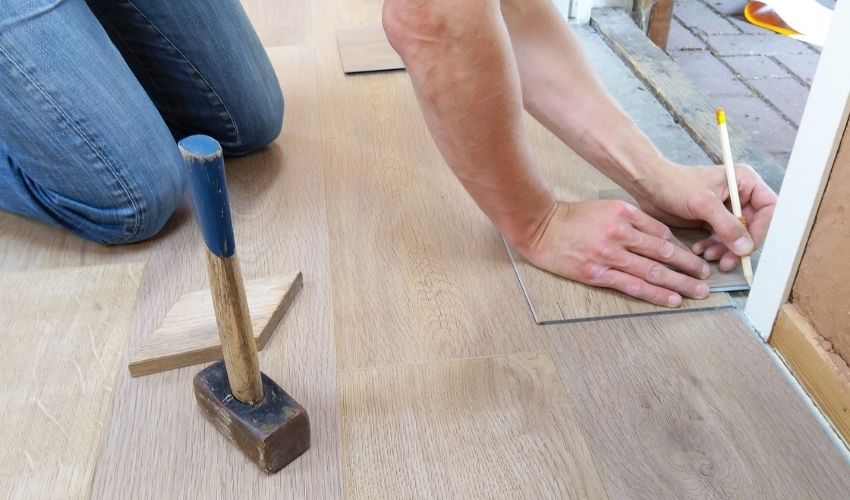
Cut the door casing from the bottom side to let the vinyl planks get into it. For that purpose, place a piece of the vinyl plank against the casing of the door and mark it with a pencil, then remove that vinyl plank. After this cut, the marked areas, with the help of a door jamb, saw and wasted the extra residue left.
5. Make The Surface Ready For Flooring
You can lay down the vinyl planks over the existing flooring. But if the surface of the floor is having any high spots, then you must sand-down to create a smooth surface to apply new flooring.
The floor must be flat and smooth for installing the vinyl planks easily on them. Fill out the broken surface to make a balanced floor. You can also bend down the high spots by scratching them or making them flat by using the hammer.
6. Install The First Row

Install the first row of vinyl planks by placing the full planks at the center and away ¼ inch from the sides of the wall. Then place the planks on both sides one by one then cut them according to the required length.
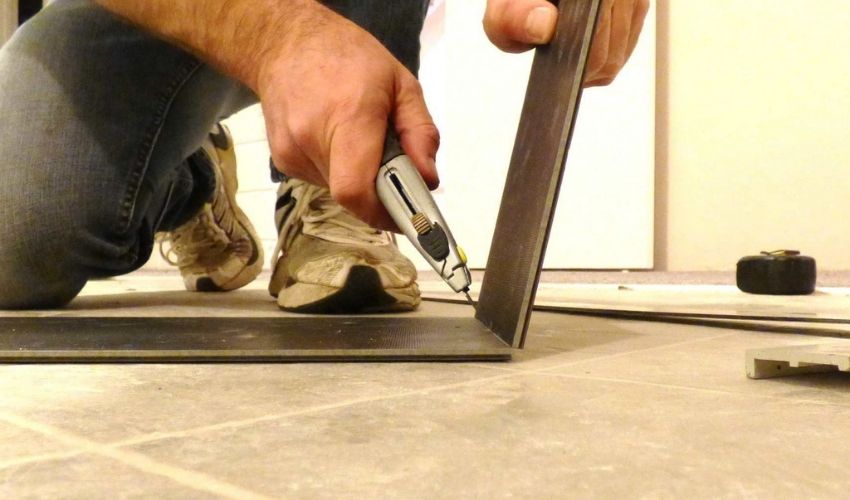
7. Cut Planks In Required Sizes
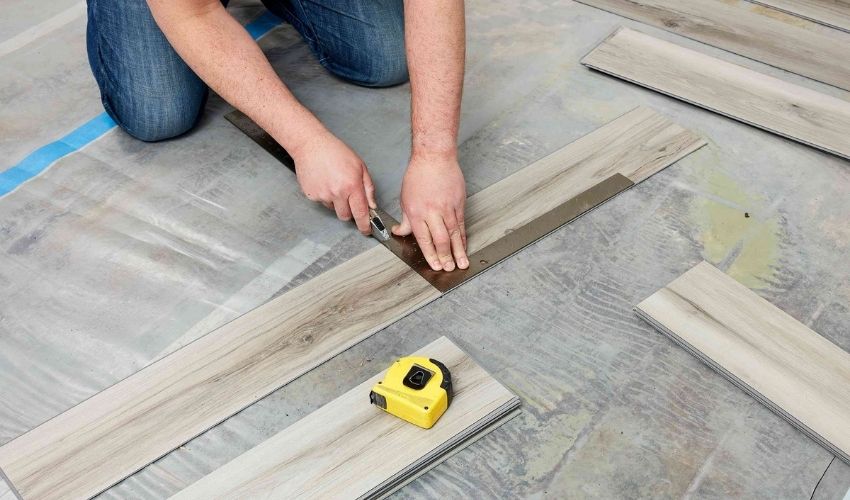
At this step, you need to cut the vinyl planks according to the size. It is a tricky task to cut the vinyl planks perfectly. You need to cut the planks so carefully because it has a slippery surface and if you try to cut them by using the knife, then there is a chance that it slips on the plank and damages the other areas of the plank.
You must get a fine-tooth saw and cut the planks carefully in a straight-line order. After this, flip and fold the planks so that you will snap them off easily.
8. Join Planks With Each Other
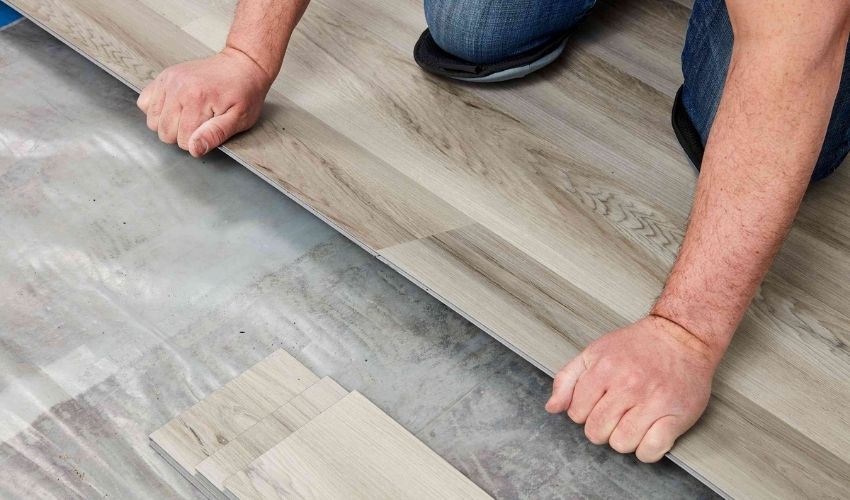
Many luxurious planks come as an edge-to-edge lock system and you have to use the tongue-and-groove method for installing them. First, put the plank on the surface, then take the other one and lay it down in that direction so that it can be easily get locked with the previous one.
After Installing the first row in the same manner successfully then use this method to apply all the rows one by one and attach the next row with the previous row throughout the surface.
9. Cut Plank For Edges
Now it’s time to install the planks on the remaining edges near the door frame and along the floor ducts. Get a utility knife and cut the plank as per the required shape and size.
10. Fit The Planks Around Edges

After you cut the planks successfully, now it’s time to join the planks with the other planks that are already placed on the floor. As vinyl floors offer great flexibility, you can bend and cut them to give the proper shape you want to get.
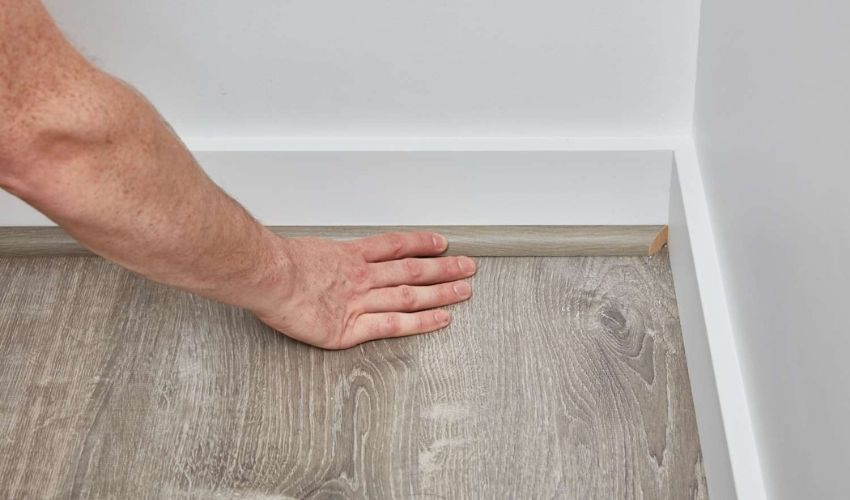
11. Cut & Apply Final Row

Trim the last row for fitting it perfectly on the floor. Cut the planks that are laid down with the ¼-inch gap from the walls. After this, join the last row with the previous ones by using the click and lock method.
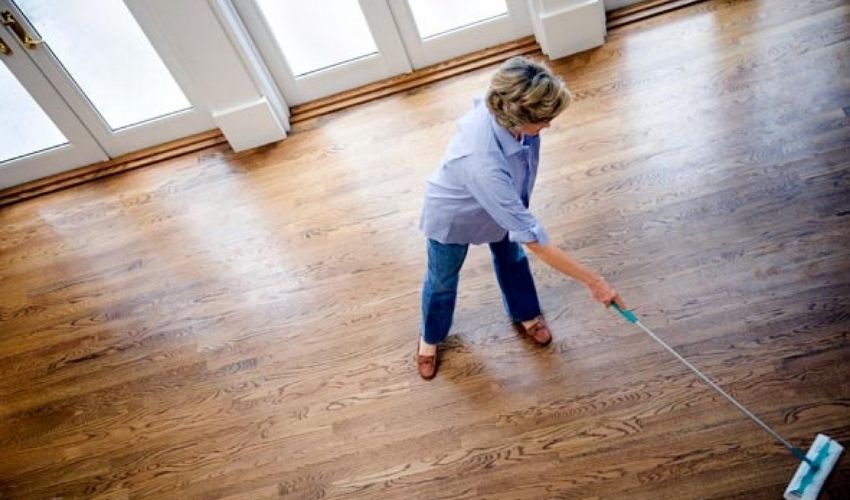
12. Reattach The Baseboard
It is the last step on how to install vinyl plank flooring. Once you installed all the planks, take the detached baseboard and reattach it carefully with the help of a Brad nailer on the ¼ inch space you leave left at the time of installing planks.
Conclusion
Fixit Flooring discussed every perspective related to how to install vinyl plank flooring. We brief by using a step-by-step approach and hope so you have learned everything and now you can easily install the vinyl planks by yourself If you still facing any problems then you can tell us by posting a comment we are available 24/7 to help you in solving the problem that you have been facing.
We also have a guide for Expert carpet Installation in Dubai.
Read More: